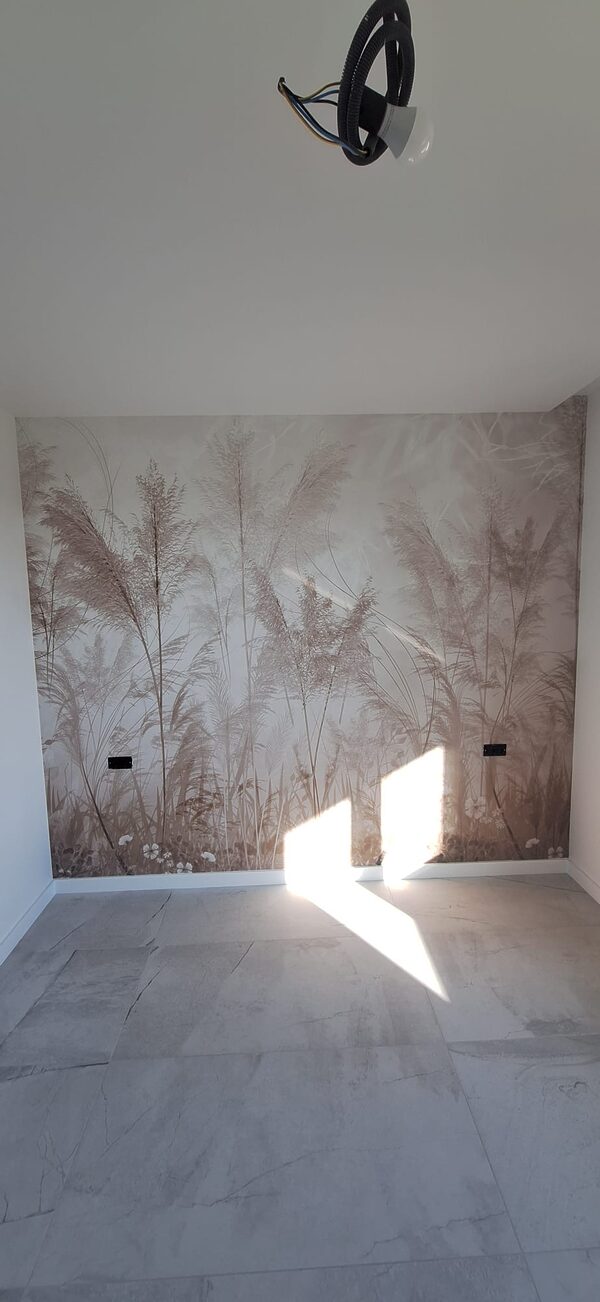
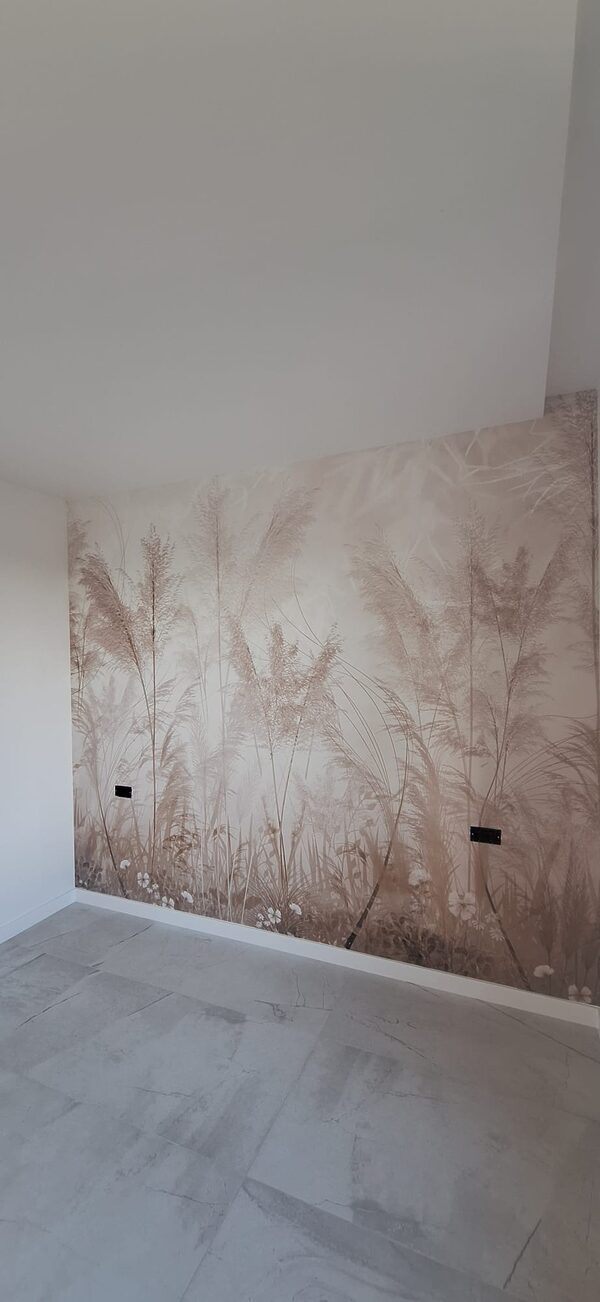
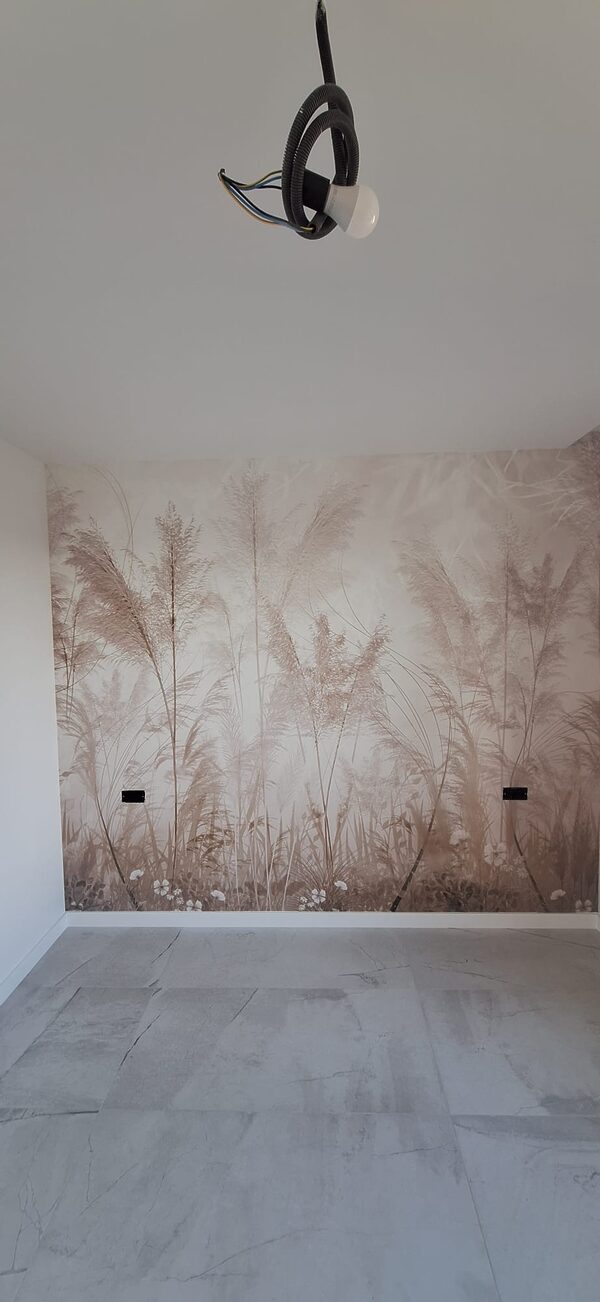
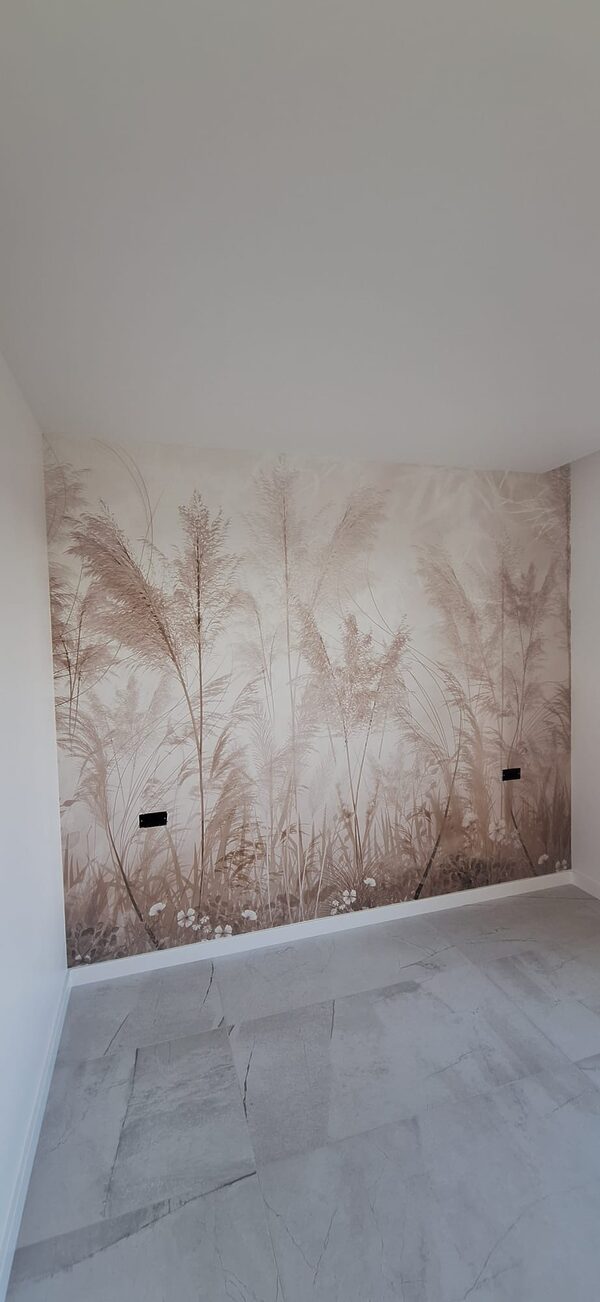
Applying self-adhesive wallpaper
Read the instructions carefully and follow each step.
Tools you will need
- Spirit level (builder’s level)
- Tape measure or a long ruler
- Pencil for marking
- Scissors (for cutting the roll into panels)
- Utility knife (for final trimming)
- Plastic smoother (squeegee) or a soft cloth
Instructions
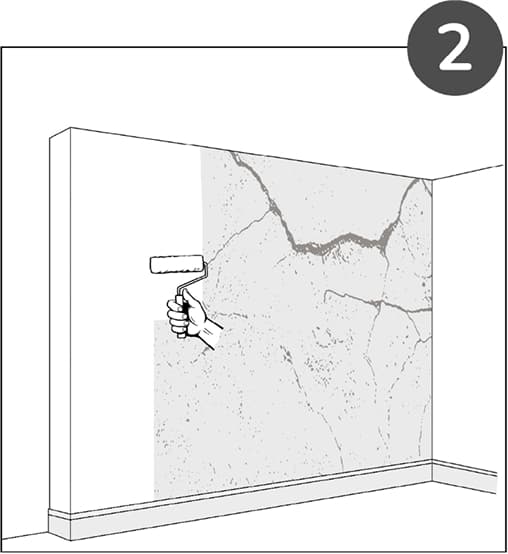
Completely remove old wallpaper, paint residue, or any other coverings. The surface must be clean and dry.
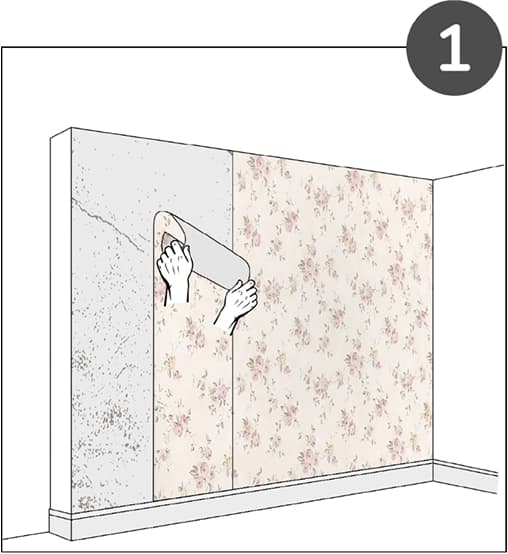
Fill any cracks or uneven spots with filler and sand them until smooth. Be sure to prime the wall—this ensures proper adhesion of the self-adhesive layer. If you skip the filling and priming stage, at least clean the wall of dust and dirt using a mild soapy solution and allow it to dry completely.
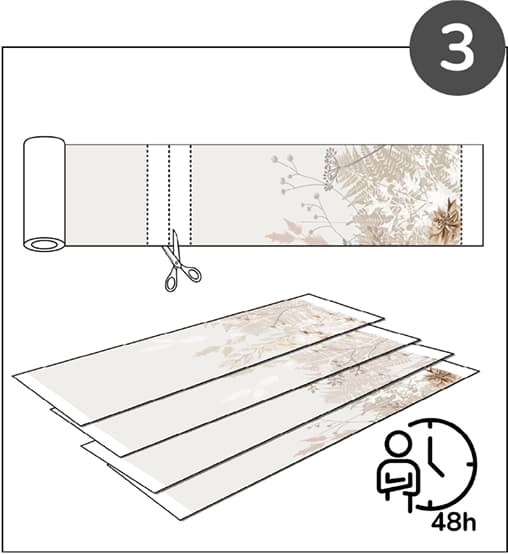
Cut the roll into separate panels exactly along the indicated cutting lines. Lay the panels out on the floor to check the continuity of the pattern. If you roll the wallpaper up again, roll it the same way it was delivered, with the printed side facing out. Leave the wallpaper in the room for 48 hours to acclimate to the temperature and humidity and to allow it to flatten.
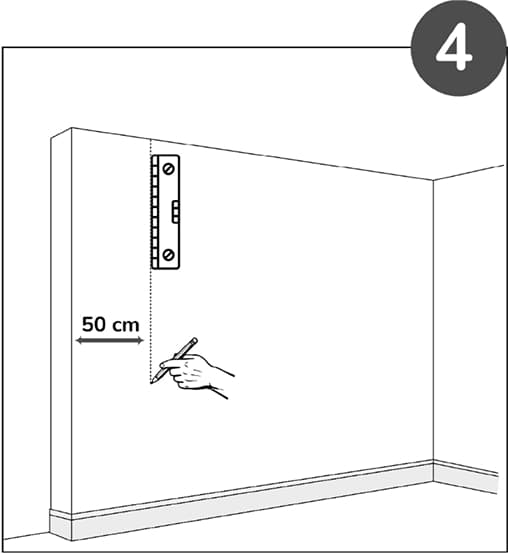
Measure the width of the first panel (50 cm (19.7 in)) from the left corner. Use a level and pencil to draw a precise vertical line.
Take panel No. 1. Peel back approximately 30–50 cm (12–20 in) of the protective backing paper from the top edge.
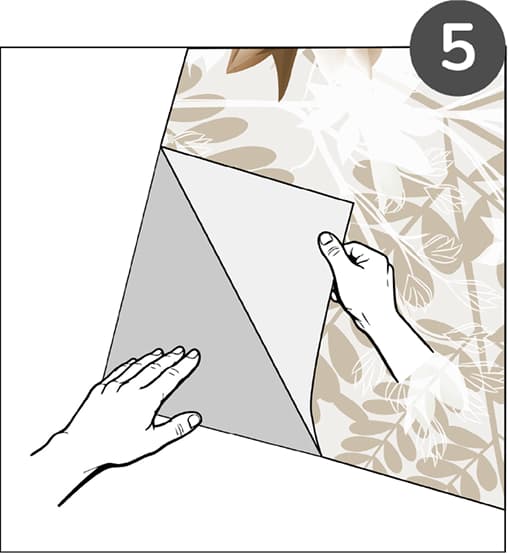
Place the top edge of the panel against the wall near the ceiling. Align the right edge of the panel strictly with your vertical guide line.
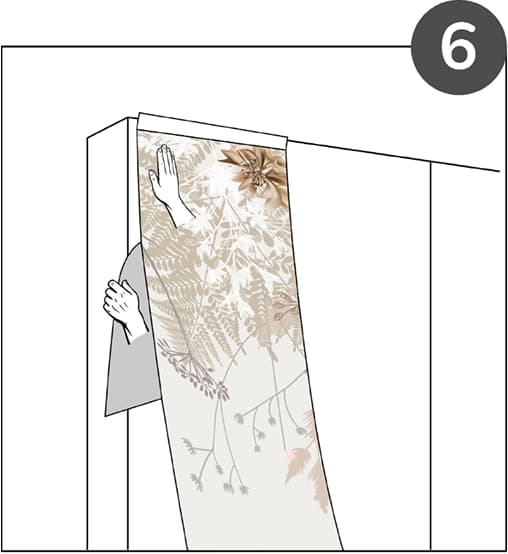
Gradually remove the backing paper, moving from top to bottom. Simultaneously smooth the wallpaper with a plastic smoother from the center toward the edges. Important: It is strictly forbidden to stretch the material while smoothing. This will cause pattern distortion and lead to gaps appearing after the adhesive sets.

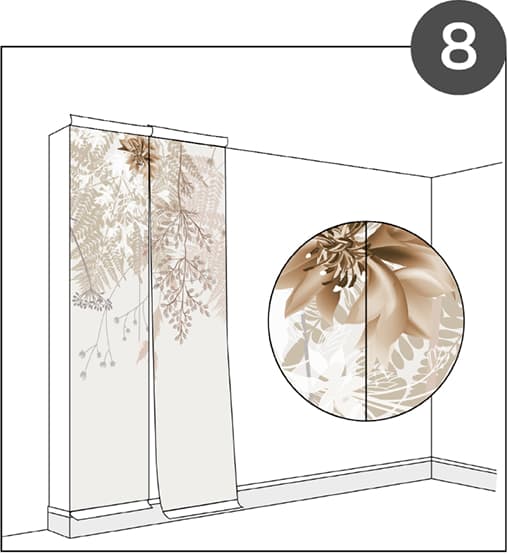
Apply the following panels in the same manner, matching the pattern butt-to-butt (edge-to-edge). Remember the rule: do not stretch the material.
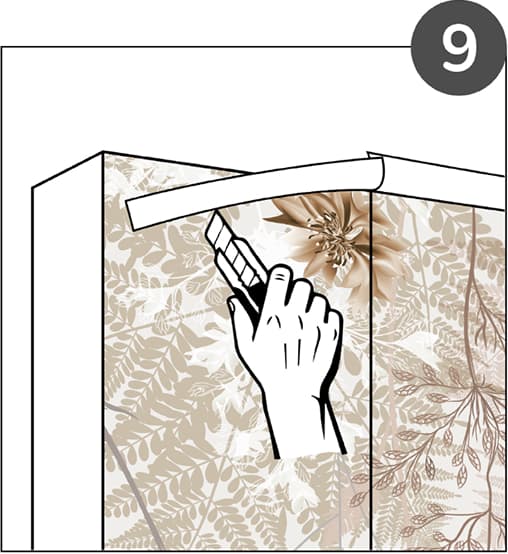
Once the panel is fixed, carefully trim the excess material (including technical margins with numbers) at the top and bottom using a utility knife and a level/ruler.
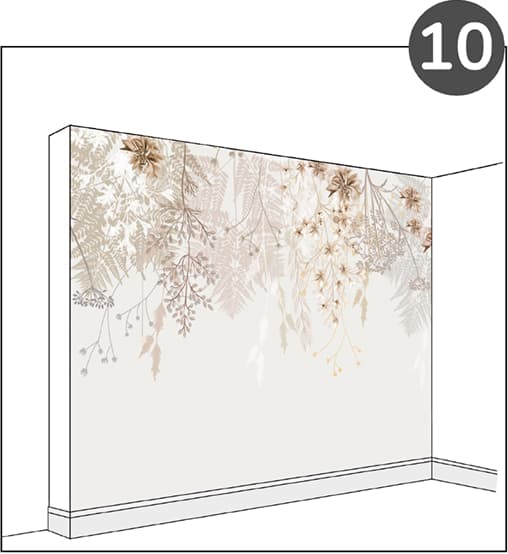
Done! For the first 24 hours, avoid drafts and maintain a stable room temperature to ensure the adhesive bonds correctly.
Pro Tips
Work in Pairs: One person should hold the panel and monitor the pattern alignment, while the other gradually removes the backing and smooths the surface.
Handling Outlets: Before starting, remove outlet covers (ensure the power is turned off). Apply the wallpaper over the opening, make an X-shaped cut with a knife, fold the edges back and trim the excess, then replace the cover.
Removing Bubbles: If a small air bubble remains after installation and cannot be moved with the smoother, gently prick it with a fine needle and press the area flat with a cloth.
Clean Hands: The self-adhesive coating is very sensitive to dust and grease. Wash your hands thoroughly or wear thin cotton gloves to avoid leaving marks on the adhesive layer.
Correcting Mistakes: If a panel goes on crooked, you can carefully peel it off and reapply it immediately—but do this right away before the adhesive begins to set firmly.